Fluid Player Master Class #1: How to use The Builder
Fluid Player is an open source HTML5 video player built for publisher websites who show video content. It supports a large range of advertising features allowing publishers to monetise their video content. Fluid Player is Progressive & VAST compatible, so that it integrates seamlessly with any ad network’s video formats, it supports the VAST standard with multiple VAST tags: pre-roll, mid-roll, post-roll and on pause roll. VAST Wrapper support to retrieve and play the ad(s) from downstream secondary VAST Tags. Additionally, the player supports linear video ads and non linear VAST tags for banners and images (gif / jpg / png).
If you are not an expert in writing code, this Master Class will show you how to use the Fluid Player Builder, which allows you to edit some of its key features and automatically generate the code you need to add it to your website.
The Fluid Player Builder is a really cool tool that lets you do the following:
- Easily edit the styling of the player so that it fits into the look and feel of your website
- Any edits you make can be seen in real time with the sample player
- Once you have customized Fluid Player with the Builder, it will automatically generate all the code for you, so you just have to cut and paste it into your website
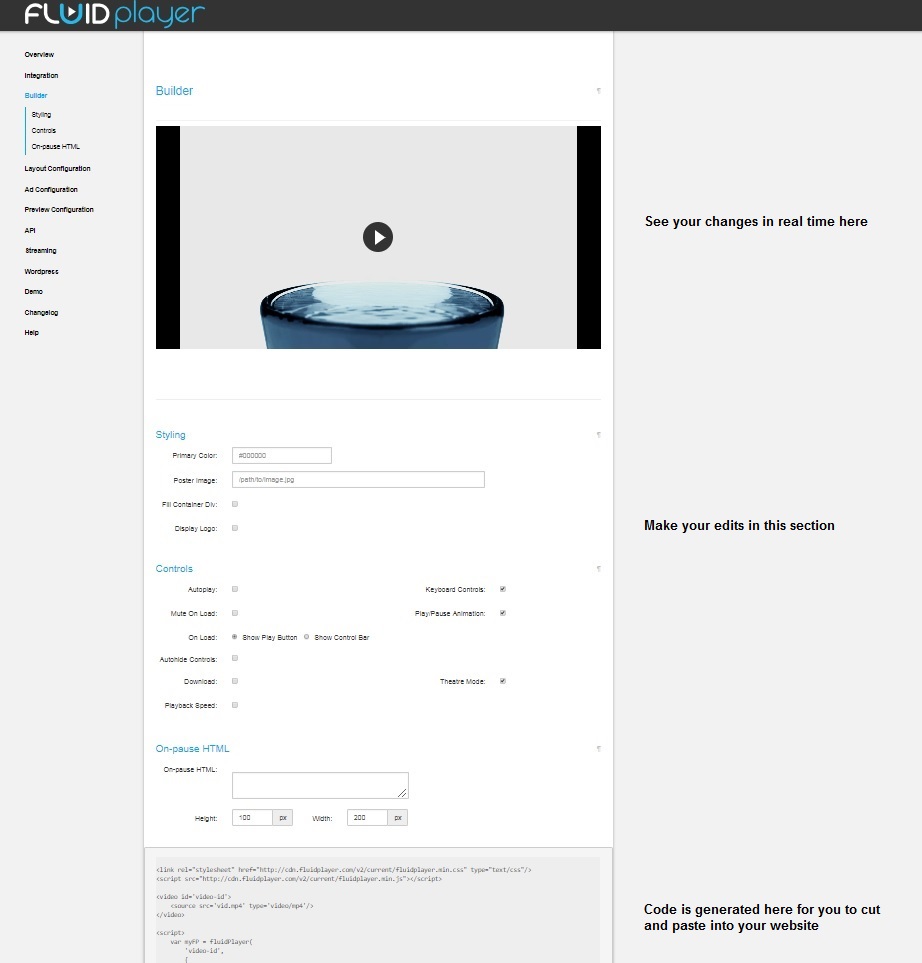
As you can see The Builder works as a series of field boxes and tick boxes, with each box representing an editable feature. You can find The Builder in the ‘Documentation’ section of the Fluid Player website.
There are three sections to The Builder:
- Styling
- Controls
- On pause HTML
So let’s look in more detail at each section:
Styling

Primary Color: This field defines the color of:
- Play button showing before video play
- Play and pause animations and video toggle
- Video played progress bar
- User defined ad text
Changing this parameter will change all the above areas to the color specified. You can match the color to your site or choose a contrasting color. You can generate the code for HTML colours using this tool.
Poster Image: This field allows you to set the path to show an image before the video plays. This could be a custom thumbnail, your websites logo, in fact any image that you wish to show. By default no image will be shown, until you add the path to an image you would like to use.
Fill Container Div: If this field is enabled the video player will take up the size of the “Div” or section where you want your player to be embedded. Tick this box to enable this feature.
Display logo: This feature allows you to display an image overlaid in one of the corners of the player. The image will only show when the user hovers over the player. Enabling this field with a tick opens up several options (see below):
![]()
Position options: Select which corner position you want the logo image from the drop down menu, select Top Left (default), Top Right, Bottom Left or Bottom Right
Logo Opacity: Here you can choose the opacity percentage of the logo image from 0%-100% (default)
Logo URL: The location path of the logo image you want to show (default: null)
Logo Click URL: If you want the logo image to be clickable and link to another page, you can set the page url with this parameter. (default: null)
Logo Margin: The margin on the logo image can be specified using this parameter. (default: ‘2px’)
Logo Hide w/ Controls: If you want the logo to only appear along with the video controls you can tick this parameter. (default: false)
Logo Hover URL: You can specify a separate image to show when a user moves the mouse over the logo image, simply enter the url for the image. (default: null)
Logo Show Over Ads: The logo will not show during in-stream ads by default, but you can specify the logo to show during ads using this parameter. (default: false)
Controls
Now let’s look at the Controls section:
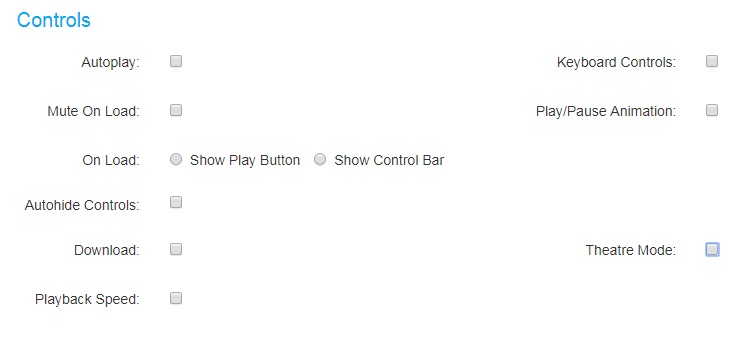
Autoplay: If this is enabled, the video will play automatically when the page loads. Please note that this feature may not work on certain browser versions and depends on their AutoPlay Policies, you can see Chrome and Safari policies here. (default: null)
Keyboard controls: This feature allows the user to use their keyboard to control Fluid Player. By default: the following key commands are actioned:
- Space/Enter: Pause/Play video playback
- Left/Right arrow: Go back/forward 5 seconds
- Home/End: Go to beginning/end of video
- Numbers 0-9: Skip to a particular section of the video (e.g. 5 goes to the video midpoint)
- Up/Down arrow: Increase/Decrease volume 5%
- M key: Mute/Unmute video volume
- F key: Go to Full Screen mode
If you wish to disable these options check the Keyboard Controls box.
Mute on load: If enabled the video will be muted by default. (default: no mute)
Play/Pause animation: If enabled animation fades out the play/pause button.
On load: This feature has two options:
- Show button: Enabled by default, Play/Pause button will appear when the page is loaded.
- Show control bar: If enabled, video control bar will appear when the page is loaded.
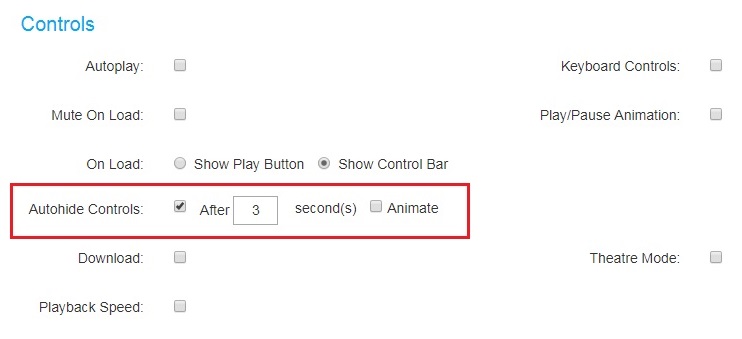
Autohide controls: This option lets you hide the control bar of Fluid Player after a specific amount of time:
After X second(s)
Animate: This enables a fade out of the control bar, if it is not ticked it will not fade out but disappear.
Download: If enabled, users will be able to download the video being shown in Fluid Player.
Theatre mode: If enabled, theatre mode alters the size of the player, showing a full screen width and 60% screen height player instead.
Playback speed: If enabled this will allow the user to change the playback rate/speed of the video.
On Pause HTML
Finally, let’s look at the On Pause HTML section:
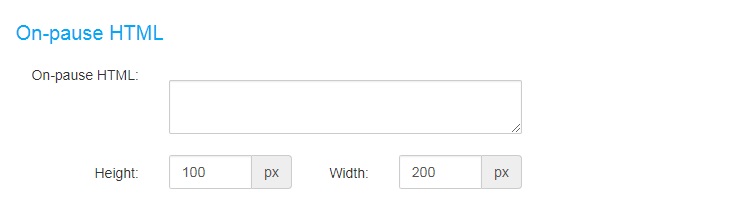
On pause HTML: This feature allows you to display an in-video banner ad using an iframe code in the centre of Fluid Player when a user pauses the video. Add your code inside the field.
Note that scripts won’t work.
Height: Here you can add the height of the HTML you want to show, as an integer representation of the pixel size. (default: 100px)
Width: And here you can do the same with the width. (default:200px)
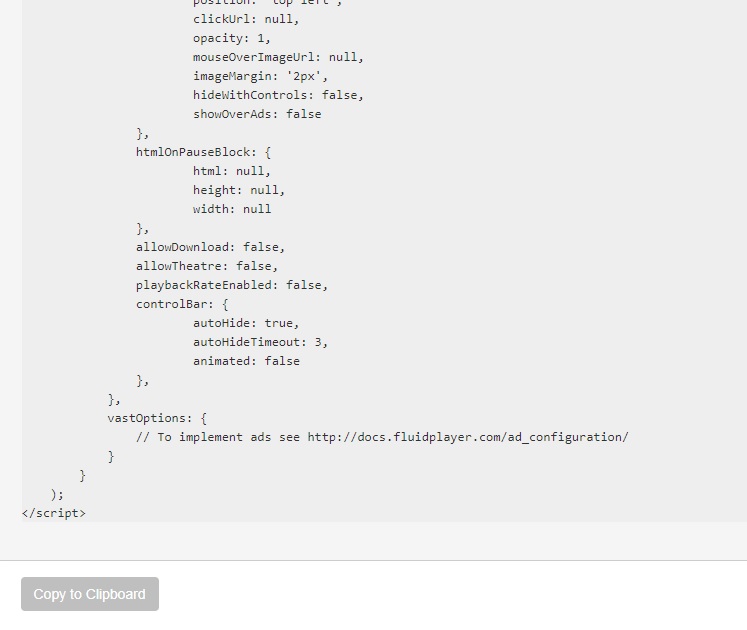
The code
So once you have chosen your parameters for all the sections, the code will be generated in the field box below the Builder, simply click the ‘Copy to Clipboard’ button and add the code to your website. Easy!
As you can see it’s a pretty cool tool and makes it super easy for you to integrate Fluid Player into your website. And if you want to carry out some deeper editing visit the documentation page on Fluid Players website for code examples of more features.
Fluid Player Community
Fluid Player is open source, so join the community and see what new features developers are creating for Fluid Player on GitHub https://github.com/fluid-player/