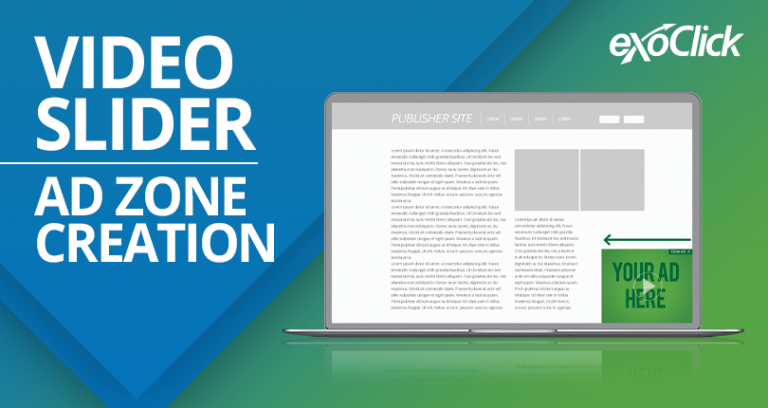
Tutorial: How to set up a Video Slider ad zone
The new Video Slider format is similar to the existing Instant Message format, but instead of displaying images it displays a video. The video is loaded through a VAST tag. The end user sees the ad slide in from the right at the bottom of the webpage. To ensure compliance the end user can close the ad. It is fully responsive and works on all browsers. The format is ideal for Publishers with photo only gallery websites who want to monetise their content with video ads, or for video content sites that want an alternative video ad format. Additionally, ExoClick guarantees a 100% fill rate for the format and the Video Slider is compatible with the Better Ads Coalition’s guidelines.
This tutorial shows you in 4 simple steps how to create a Video Slider ad zone.
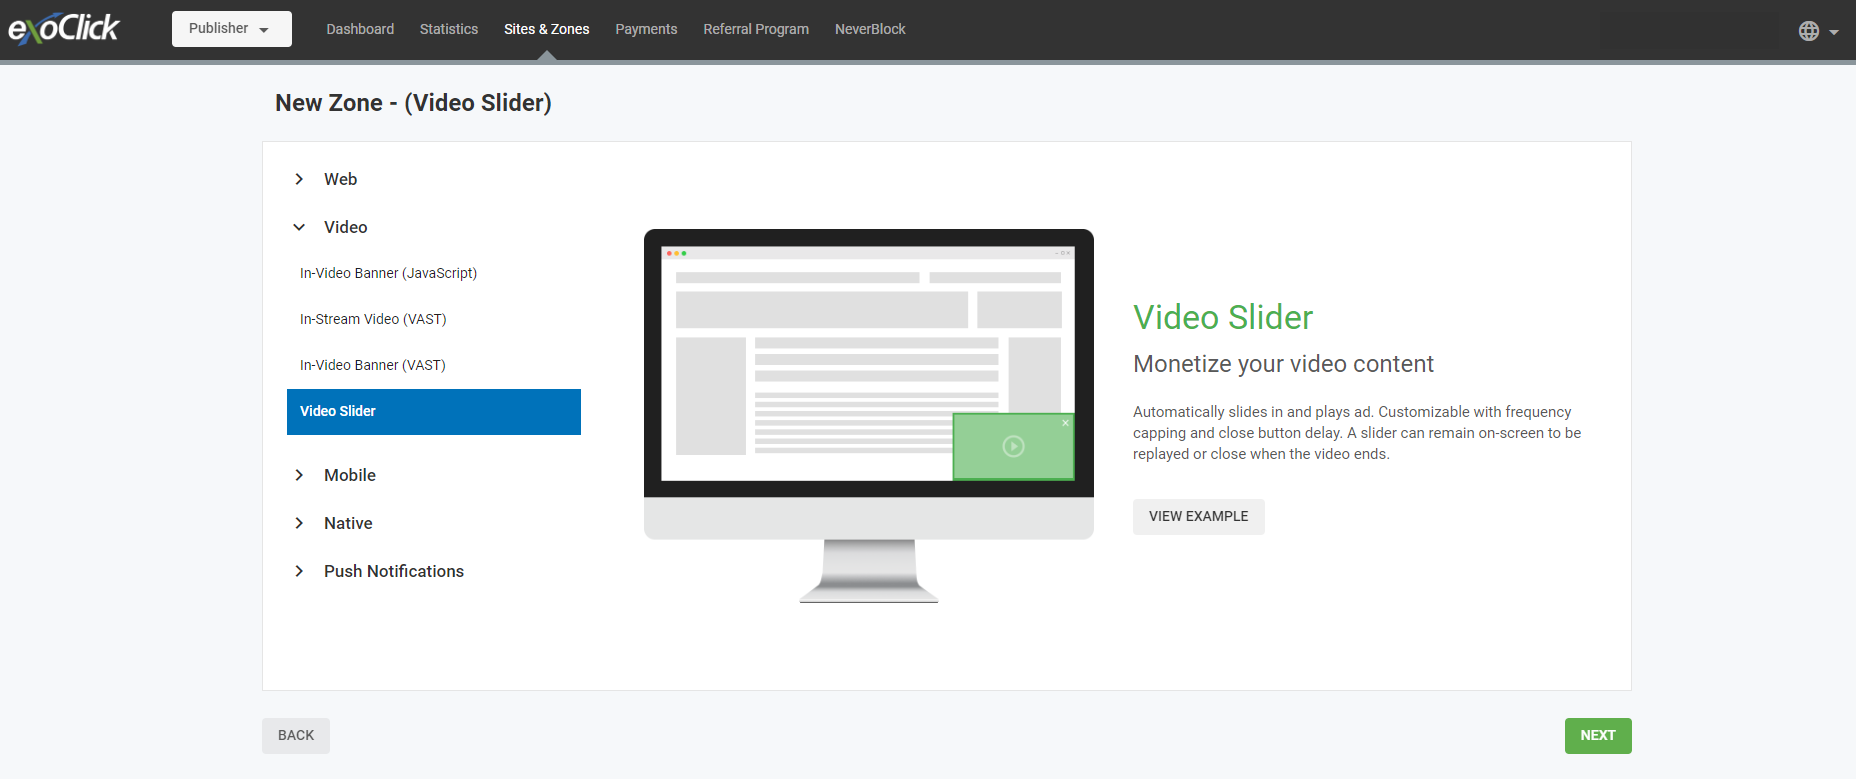
Step 1: Create a new Ad Zone
First go to the “Sites & Zones” tab and click “New Zone”
There is a drop-down menu listing all your websites, select which one you want to place the in-stream ad zone.

Select the “Video” category and from the drop down menu select “Video Slider” and click “NEXT”
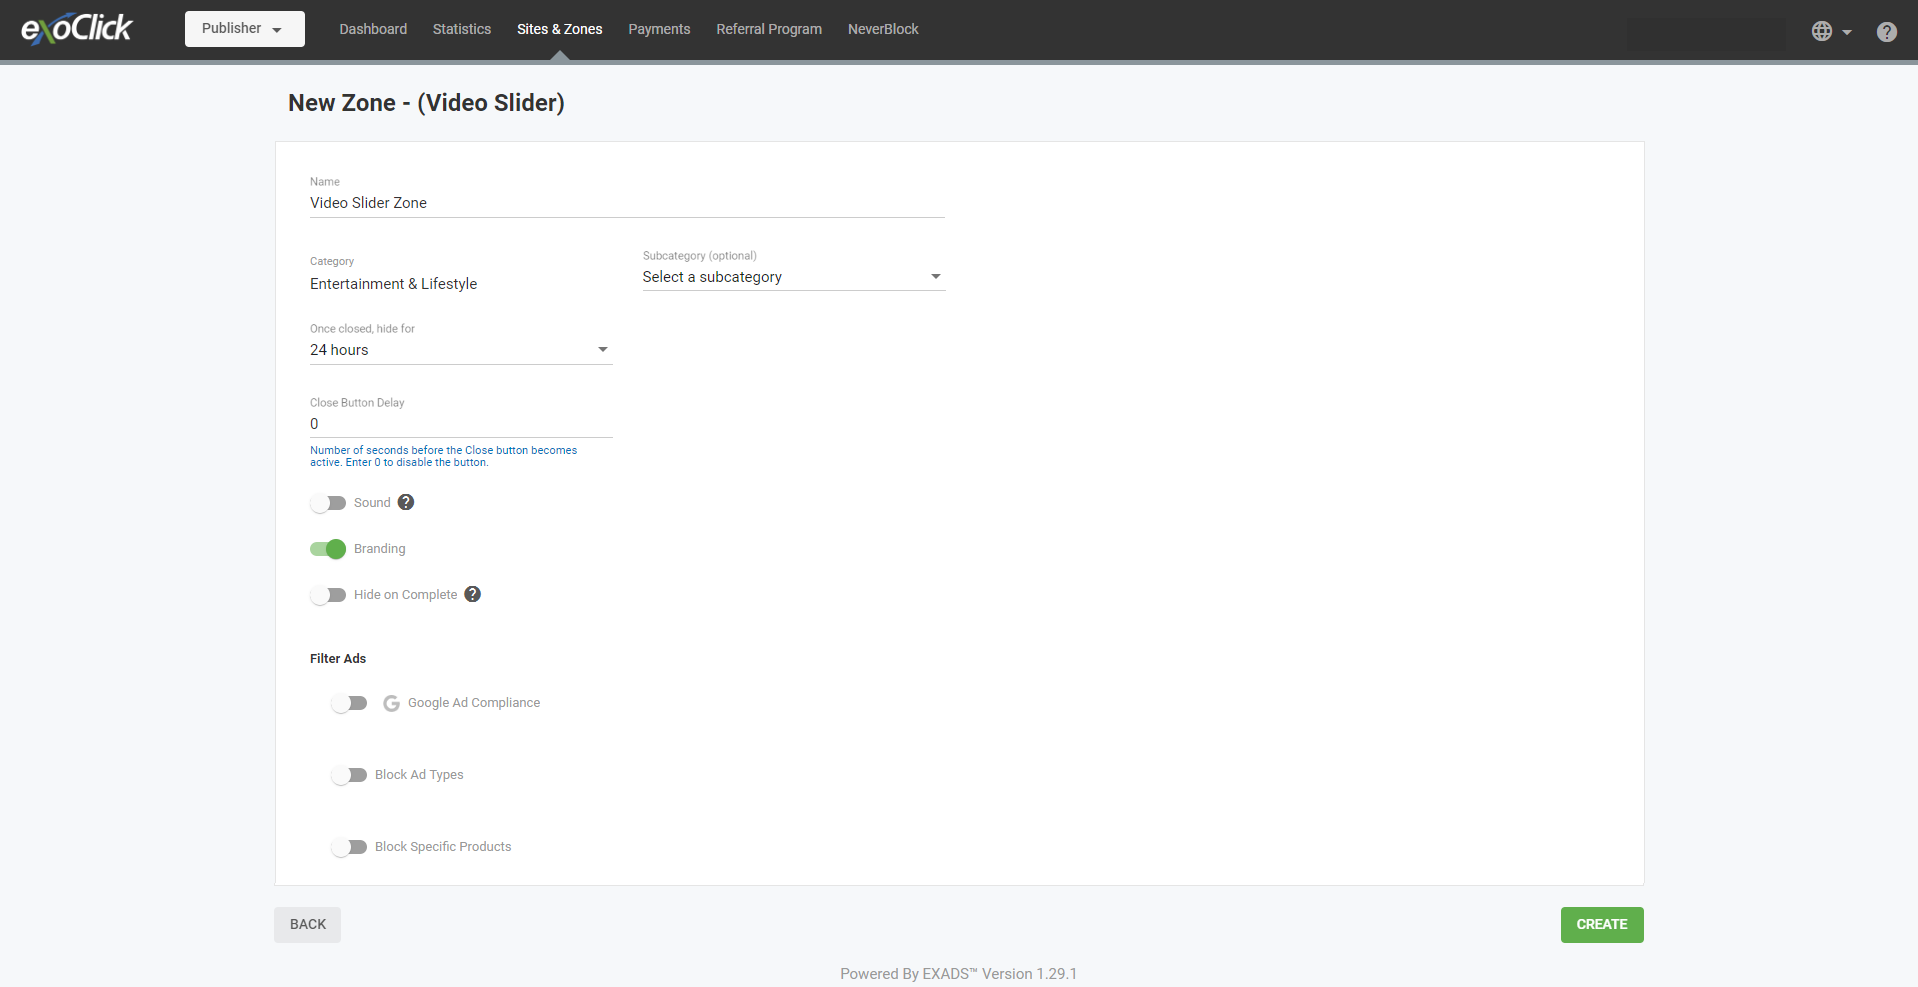
Step 2: Edit the Video Slider ad zone features
- Name: Personalize the ad zone name to suit your own needs (at least 5 characters long).
- Category (default): This is automatically selected based on the category of the site you selected in the previous step.
- Subcategory (optional): We recommend that you don’t select a subcategory in order to maximise your earning potential.
- Once closed, hide for: This is like frequency capping and you can choose the next time you want to show the ad to each user, we recommend that you set this to “24h”.
- Close Button Delay: Enter 0 (by default) to show the close button from second 0 in order to be Chrome compliant.
- Sound: By default the video ad’s sound is OFF, however you can enable sound. If enabled the video player will try to play with sound ON first, if it fails, it will play with no sound. We recommend to have the sound set to OFF to be Chrome compliant.
- Branding: Enabled by default and will display “Ads by ExoClick.” We recommend to keep this as the deafult to be Chrome compliant.
- Hide on Complete:
- Enable: Video Slider will close when the video ad finishes.
- Disable (default): Video Slider will remain on-screen with a repeat button.
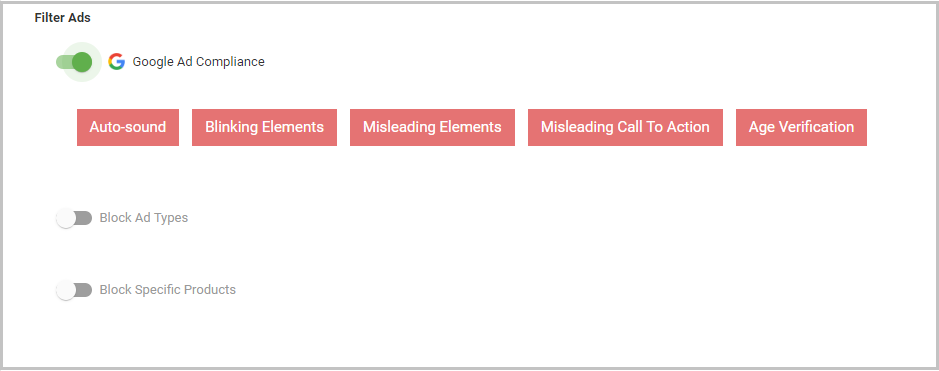
Step 3: Filter Ads
In this section you can block by Google Ad Compliance, Ad type and/or by Specific Products.
Google Ad Compliance
Toggling this button on will ensure that your site only displays ad creatives that are Google compliant.
Block Ad type
This allows you to block advertising based on the audience for your traffic. “General” advertising will show an ad that promotes a product suitable for all visitors.
Block Specific Products
You are also able to block specific product types that you don’t want to display in your ad zone. Please note: Blocking too many products, could result in no ads showing, or reduce your revenues significantly.
Once these steps are completed click “CREATE”
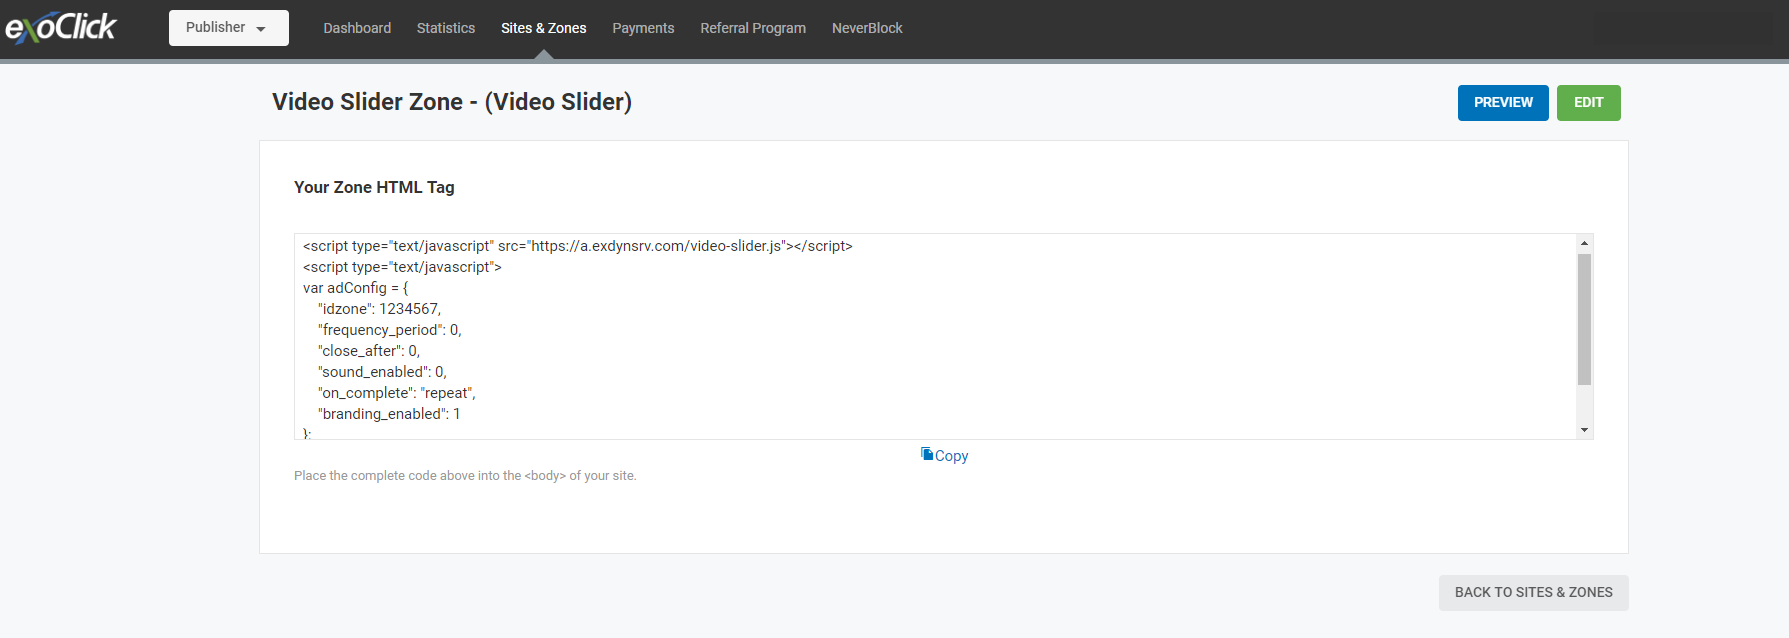
Step 4: Integration Snippet Code
Once you’ve selected your Video Slider ad zone options a snippet code will be generated which you will need to embed within the <body> tag in your site. The id zone number generated will be a unique number of the ad zone you have created.