Tutorial: Setting up a Video Slider campaign
The new Video Slider format is similar to the existing Instant Message format, but instead of displaying images it displays a video.
This format is compelling for the end user, because the ad slides in from the right at the bottom of the page to catch their eye. The end user can click on the ad to go to your landing page. The Video Slider is fully responsive and works on all browsers and is available on CPC, CPV and CPM
This tutorial shows you in 6 simple steps how to create a Video Slider ad campaign.
How to create a Video Slider campaign
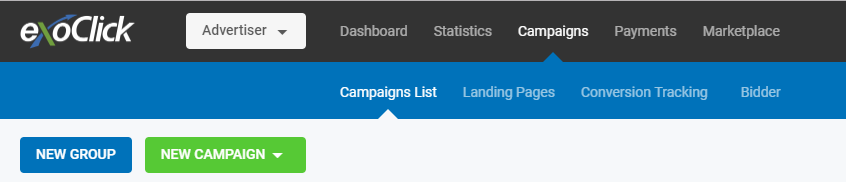
Step 1
In your admin panel click ‘Campaigns’ and the green ‘NEW CAMPAIGN’ button
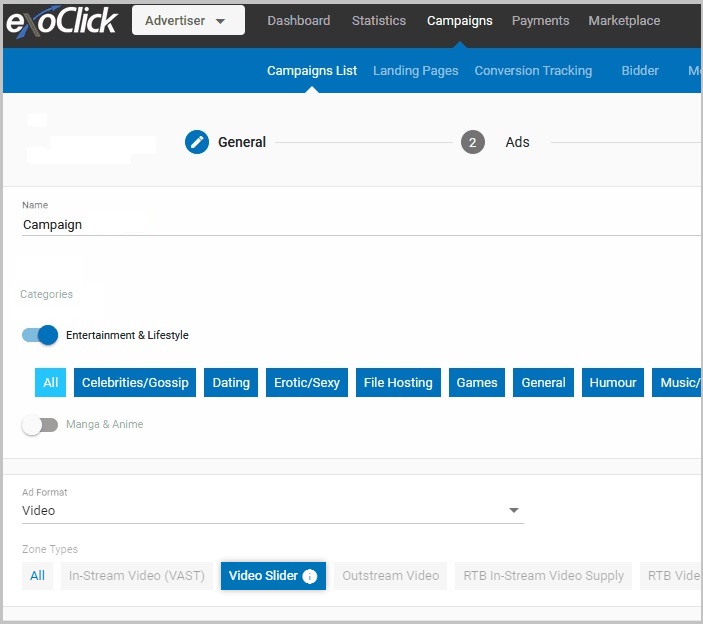
Step 2
Give a ‘Name’ to your campaign, select Video from the ‘Ad Format’ drop-down menu. Then, use the toggle buttons to select your ‘Categories’ and you will see All video ad formats are highlighted, including RTB Supply. You should only highlight the video format you want your campaign to run on, in this case only select the Slider Video Tab by clicking on it, otherwise your campaign will run across all video formats. Regarding the RTB tabs, unless you are experiecned in buying RTB Supply, we recommend that you do not highlight the Slicer RTB Video Supply Tab.
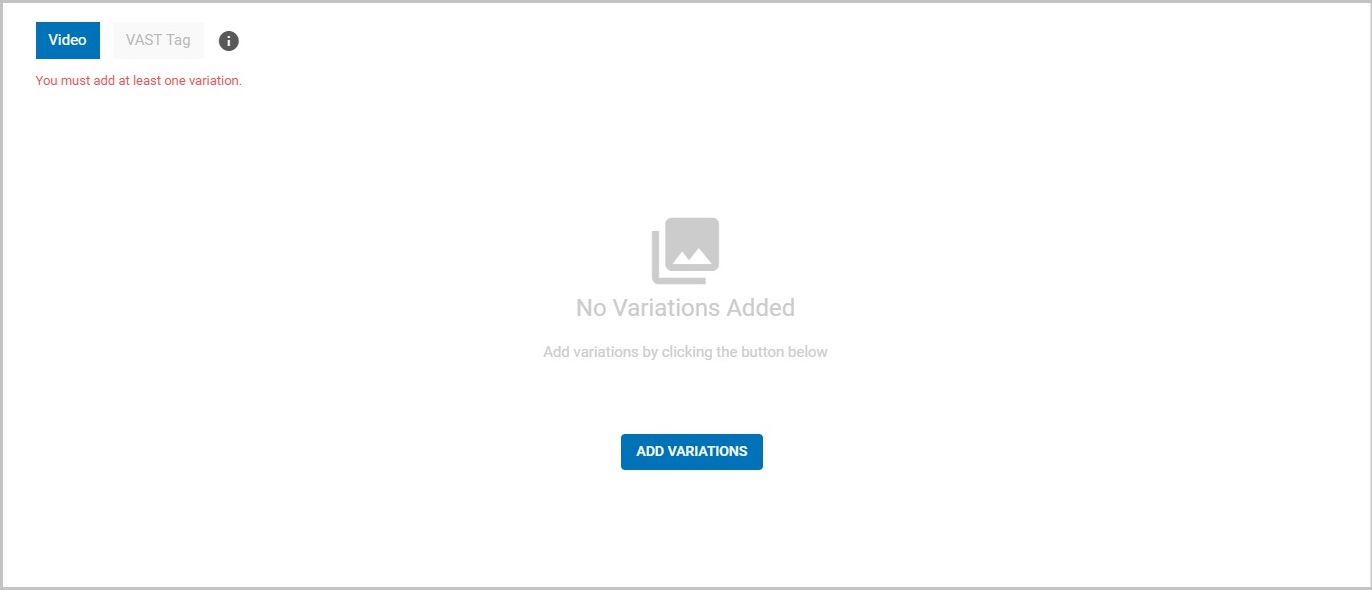
Then you can add your variations.
Please note: This defaults as Video content, however if your account manager has enabled VAST Tags for you, then you will be able to click on the VAST Tag button for your Video creative.
Then click the blue ‘ADD VARIATIONS’ button.
Step 3
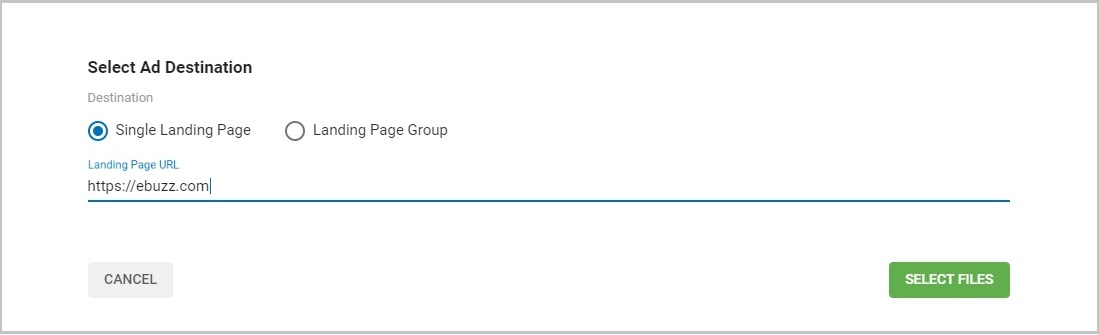
Add your ‘Landing Page URL’. Now you need to add your video creative which should follow our in-stream video technical video requirements. To do this click the green ‘SELECT FILES’ button.
Step 4
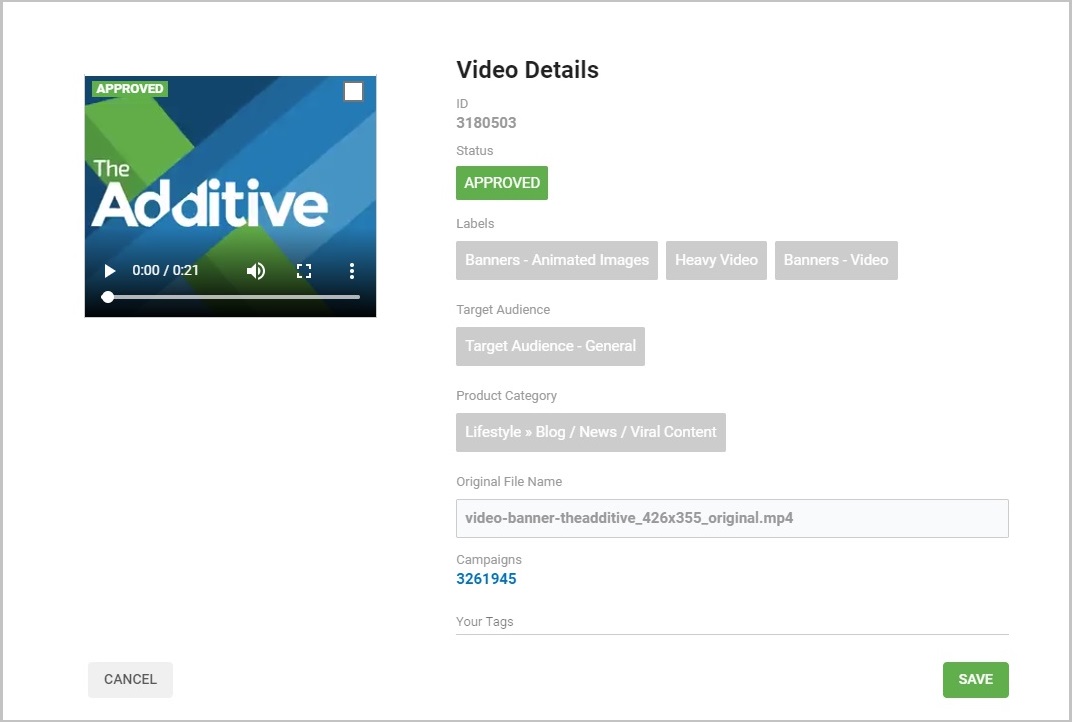
The ‘Select Ad Assets’ will open displaying your video creatives. You can use the filter options in the box to help you search for the video you want or upload a new video. Then click on the video creative you wish to use. Then click on the green ‘ADD 1 VARIATION’ button.
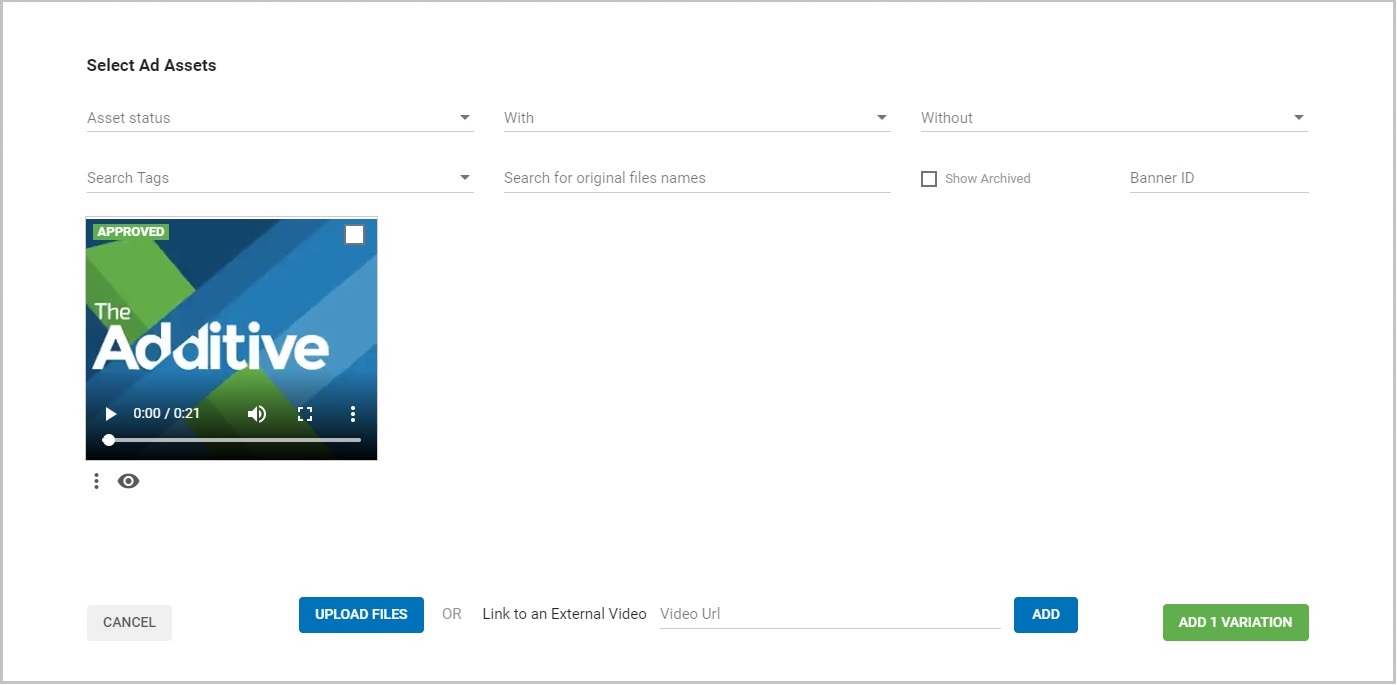
Now your variation is in the system.
Step 5
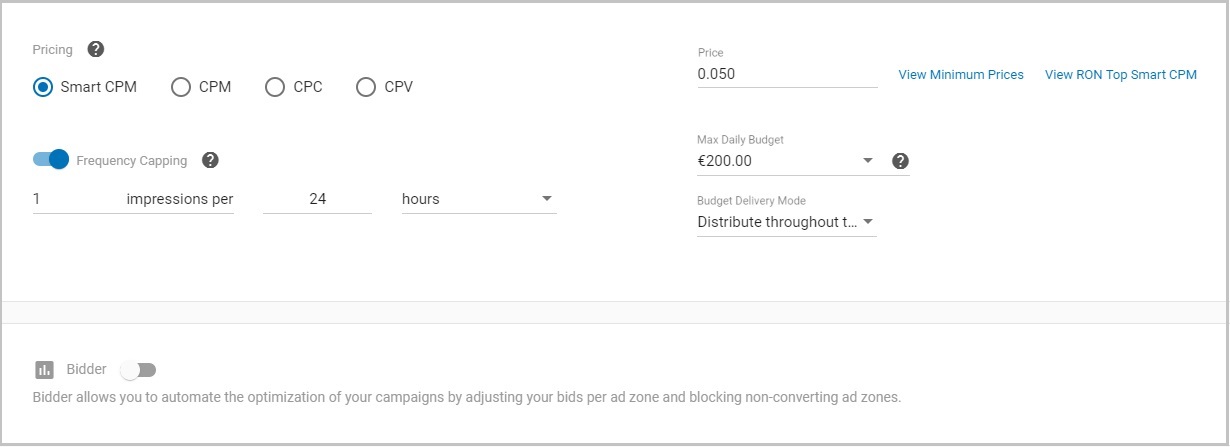
Now go to ‘Pricing’ and select Smart CPM, CPM, CPC or CPV. Then choose your Frequency Capping, minimum bid (Price) and your Max Daily Budget and Budget Delivery Mode. Additionally you can activate The Bidder for automatic optimization.
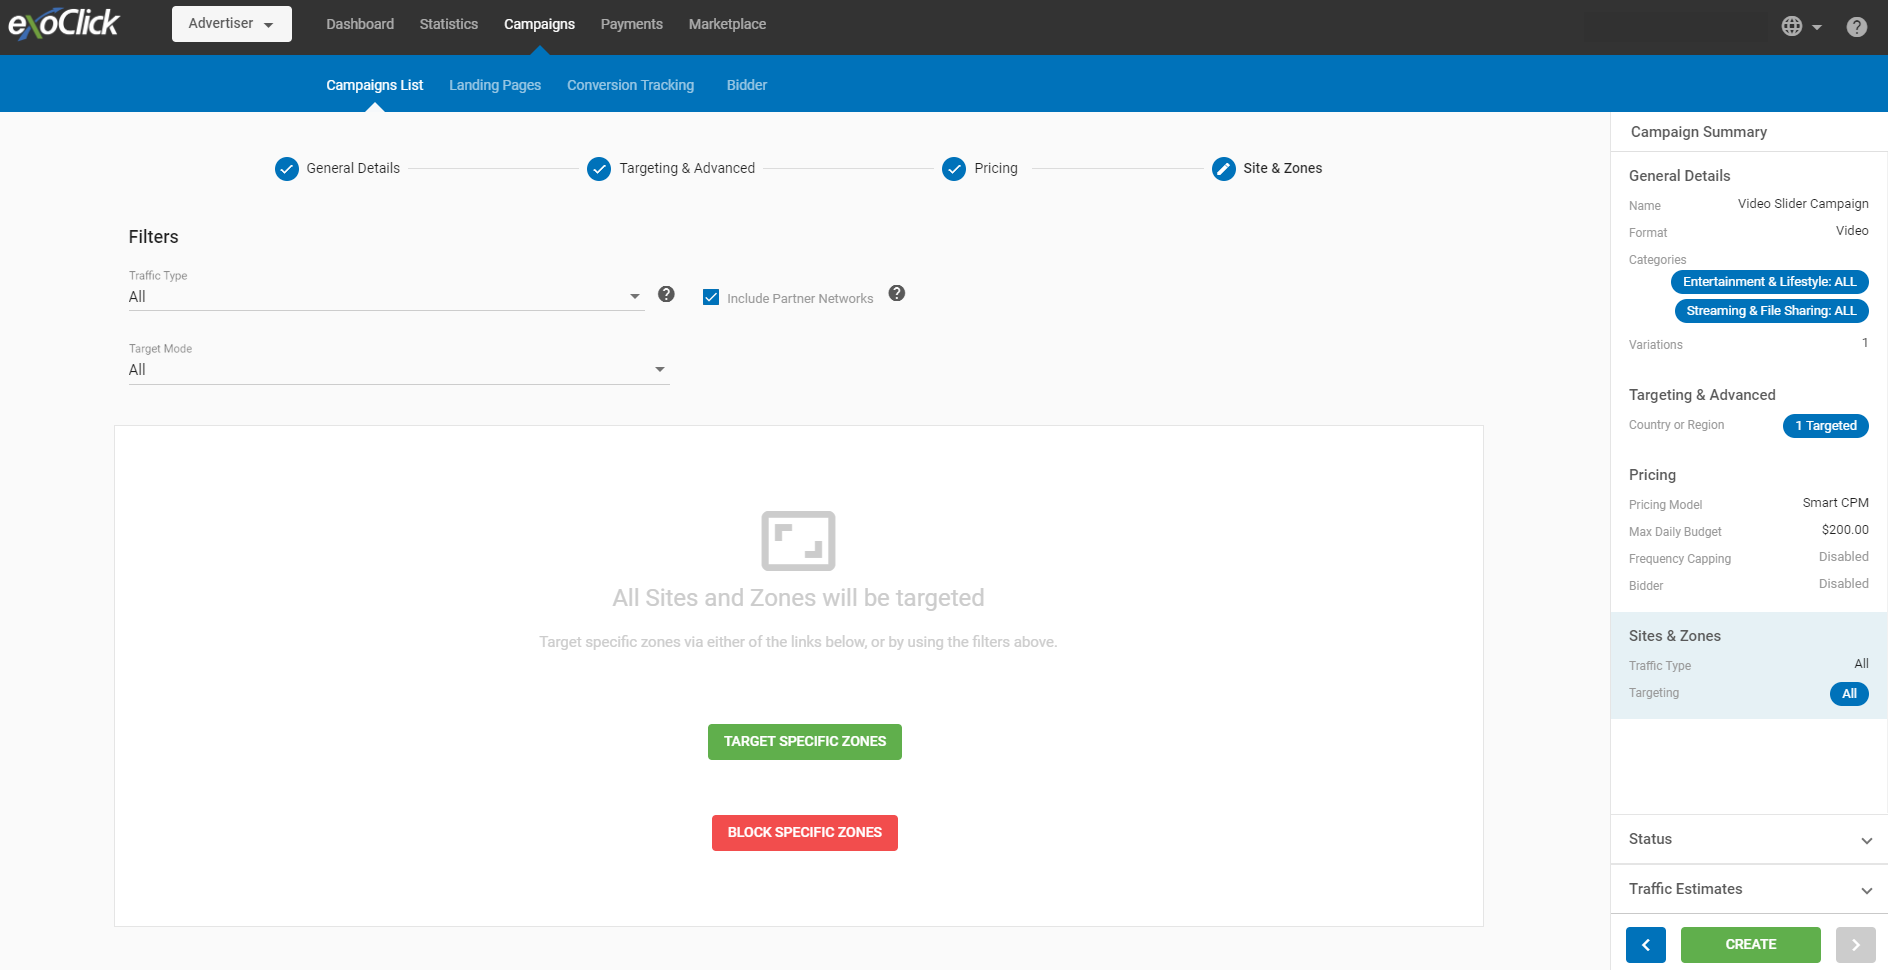
Step 6
Now move on to ‘Site & Zones’ to choose the sources you want to target, and finally click the green ‘CREATE’ button at the bottom right of the screen.
And that’s it! If you have any problems with setting up your Video Slider campaign, please contact your Account Manager or a Client Care Specialist here.
Here are some tips:
- Separate campaigns for In-stream and Video Slider to monitor and optimize the campaigns.
- Create specific advertising material because of the position and size on the slider are different to In-Stream.
- The length of the video needs to be a minimum of 15 seconds, similar to In-stream material.
- The video quality needs to be high enough to be easily viewable to all site visitors – see the technical requirements by clicking here.
- The video content must match the product you are selling after viewers click the link.
- You must own full copyright or be officially authorized to use all materials featured in the video (proof may be required).
- The video content should be visually appealing and creative. Original content will help you generate better quality leads.
- ExoClick reserves the right to decline video campaigns at any time if deemed unsuitable for the network or our publishers requirements.