Publishers: How to Optimize Footer Zones with Native and Multi-Formats
When it comes to ad placements, the footer rarely gets the attention it deserves. Publishers spend hours optimizing above-the-fold content and sticky headers, while the footer is often left as an afterthought.
This space has the potential to generate significant, low-friction revenue on mobile devices without disrupting user experience. Users at the bottom of a page are ready for “what’s next,” making them receptive to well-placed recommendations. Unlocking this hidden potential comes down to two primary optimizations:
- Maximizing Native Layout Space: Replacing standard fixed-width blocks with 100% full-width Native widgets optimized via CSS.
- Implementing Multi-Format Zones: Swapping static single-banner placements for dynamic Multi-Format ads to increase bid density.
In this article, we will explore how to maximize Native layouts, why implement Multi-Format Zones on the footer, and a step-by-step guide to executing this strategy through smart layout engines, targeted CSS, and dynamic format selection.
Use 100% Width on Native zones instead of Fixed Sizes
Don’t settle for adding a Native ad with a fixed 300-pixel width in your footer. Configure it to use 100% of the container width to increase visibility and revenue potential.
Fixed Width: The ad appears small, leaves awkward white space, and feels disconnected from the site.
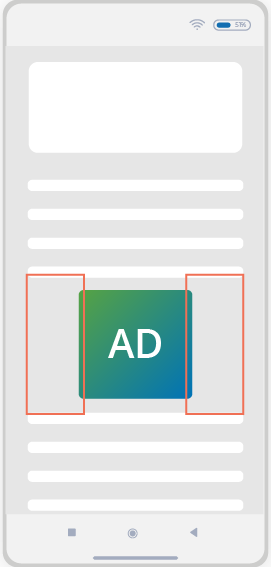
100% Width: Fills the container completely, blending seamlessly with editorial content, driving stronger advertiser impact.
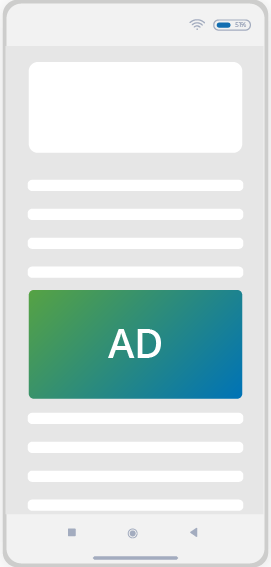
Performance Impact: One publisher reported a 40% increase in overall revenue, a 50% boost in CTR, a 35% rise in CPM, and a 5% increase in impressions simply by setting their ad zone to 100% width.
1. How to Optimize Native Ad Integrations: CSS and Layout Strategy
To make full-width Native footer ads convert without breaking your site design, you need strong CSS styling that matches your visual language.
Publishers need to ensure images are properly constrained to avoid disrupting layout alignment. Native ad images can also vary in ratio. So, if you don’t implement a layout strategy for them, a landscape photo and a portrait photo could appear in the same group, affecting your row alignment.
Code to force the native control to use the full width
.exo-native-widget-item-image {
  width: 100% !important;
}
2. Native Ad Integrations: Grid vs. Flexbox: Layout Control
You can start integrating Native ads into your website by choosing your layout engine. This should be chosen based on how you want to manage real-world content variations. You have two options: the flexbox approach or the CSS Grid.
Flexbox Approach: Best for simple row distribution and quick responsive wrapping. However, it lacks inherent row control for cards with varying text heights.
Here is the code needed to integrate the Flexbox approach.
.exo-native-widget-item-image-wrapper {

  display: flex;

  flex-wrap: nowrap;       /* forces all 4 on one row */

  gap: 16px;

}


.exo-native-widget-item-image {

  flex: 1 1 0%;            /* each card takes equal share */

  min-width: 0;            /* critical: prevents flex blowout */

}
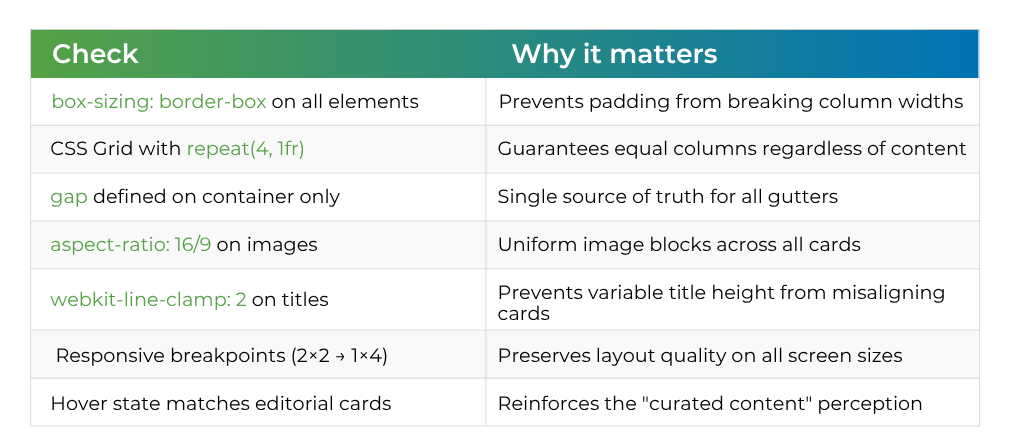
CSS Grid: Recommended for precise alignment. Use repeat(4, 1fr) to guarantee equal columns and aligned content regardless of title length.
Once you have chosen your method and implemented it into your code, check the following points to ensure the best possible results on your ad zone before pushing to production:
3. CSS and Layout Strategy: AI and Design Tools
By leveraging ExoClick’s resources like CSS Assistant GPT to generate styles and Live Preview to see what your zones will look like when live.
- CSS Assistant GPT: Generate custom stylesheets by describing your site’s aesthetic.
- Live Preview: Use the Admin Panel to toggle between desktop and mobile views before pushing to production.
4. CSS and Layout Strategy: Optimized Mobile & Desktop Layouts
Define independent layouts within the same zone to match device behavior:
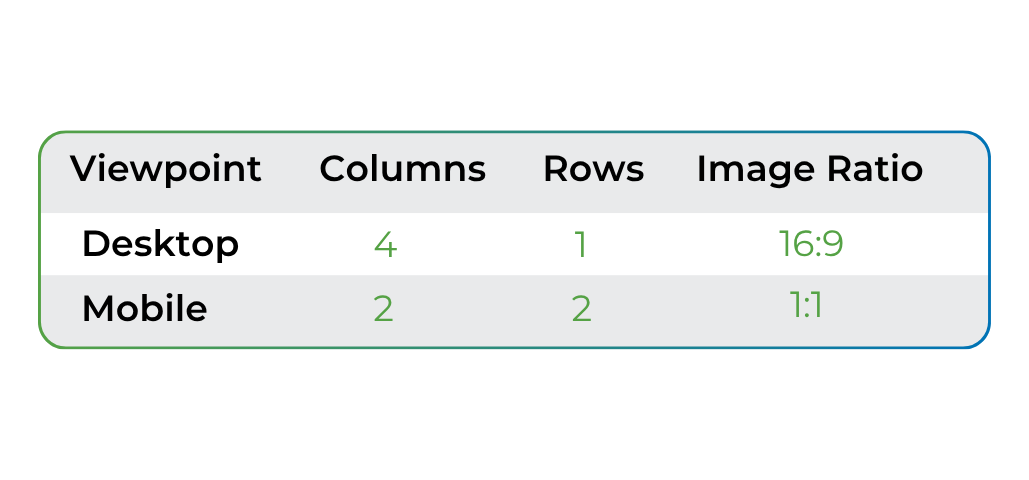
Best Practices for Footer Multi-Format Integration:
- Enable Dynamic Competition: Allow a 300×250 display banner, a Native 2-pack, or a Video ad to compete for the same footer slot. The highest eCPM wins.
- Stacking Zones: Place a Native 4-pack directly above a standard Multi-Format display zone to test performance and capture different user interactions.
- Impression Scaling: Expand your footer widget space from 4 cards to 6 cards (e.g., 2×3 grid on mobile) to increase auction density and overall RPM.
- Data-Driven Testing: Run multi-format configurations for 2–4 weeks. Analyze the CPM and CTR metrics in your administrative panel, then allocate more inventory to the winning combinations.
Tools & Account Manager Tips
- Use AI Design Tools: Leverage resources like ExoClick’s CSS Assistant GPT to auto-generate stylesheets tailored to your site’s aesthetic.
- Simulate Before Pushing: Use the Admin Panel’s Live Preview feature to toggle between mobile and desktop rendering before deploying code to production.
- Recommended Configurations: For mobile footers, start with a Native 2×1 to 2×2 widget or a 300×250 Multi-Format zone.
Conclusion: How to Optimize Native Ad Integrations
The best way for publishers to optimize Native Ad integrations is by ensuring your Native ads match the layout of your site. This can be done effectively with ExoClick’s ad network. Sign up for ExoClick today and create ad zones on your site that draw in more revenue. If you are already using ExoClick and you would like to learn more about implementing these zones on your site, get in touch with your Account Manager today or contact the Customer Success team.
