10 Native ad zone custom CSS ideas for Publishers
Improving how your Native ad zones are displayed can help the ads blend more into the style of your website. This creates a better user experience and can increase eCPMs, check out our Case Study: How 3 publishers increased Native ad zone CPMs. It’s easy to use custom CSS code to improve the impact of how your Native ad zones are displayed and this blog post contains 10 ideas with the code you need to apply the changes.
1 – Reduce the height of the text box: You can use CSS code to change the size of the text box below the image of your native ad zone.
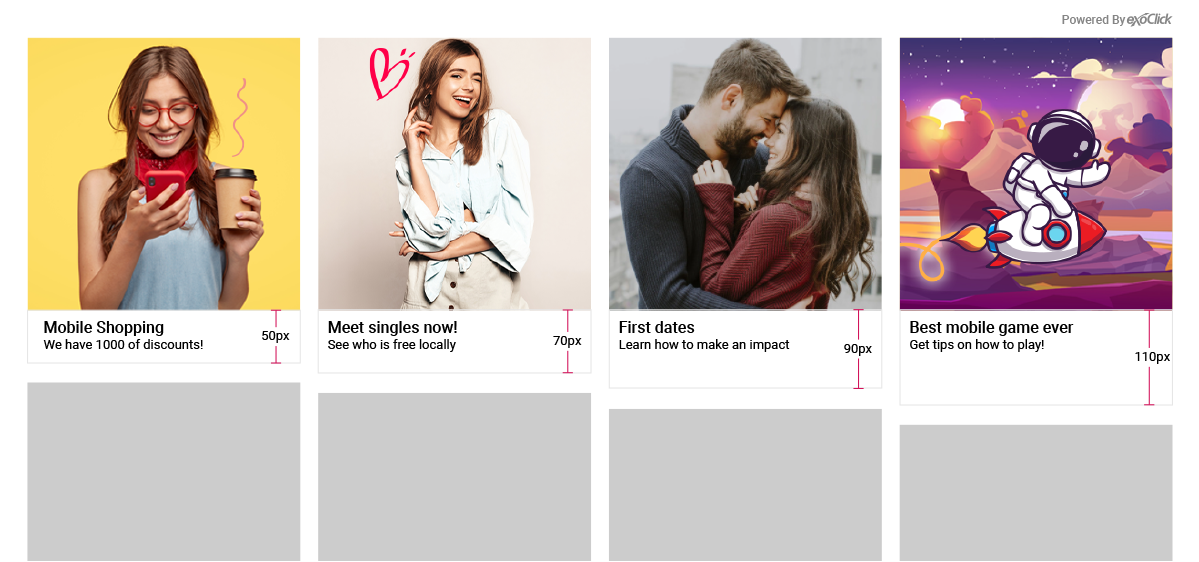
 .exo-native-widget-item-content {
      height: 50px  !important;
   }
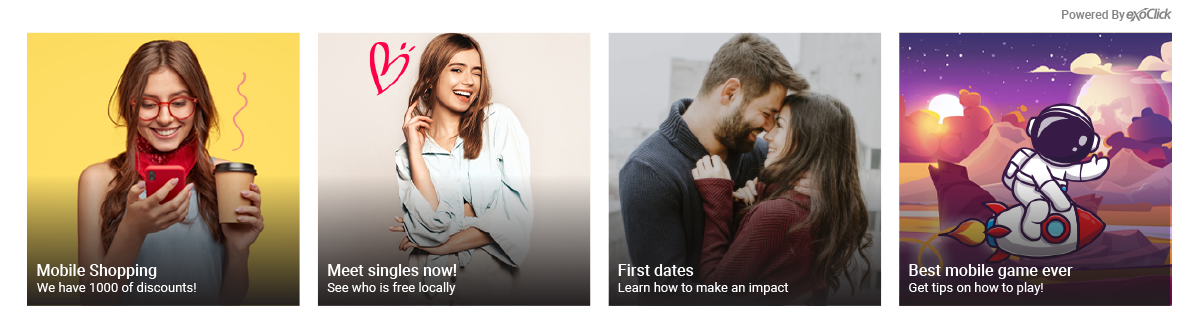
2 – How to place the text box over the image: In your admin panel the default setting in the Native zone set up will display an image and then below the texts for Title and Description. But you can also use CSS code to move the text to show over the image.
  .exo-native-widget-item-content {
      position: absolute !important;
      bottom: 0px  !important;
      z-index: 3  !important;
      top: unset  !important;
      height: 50px  !important;
   }
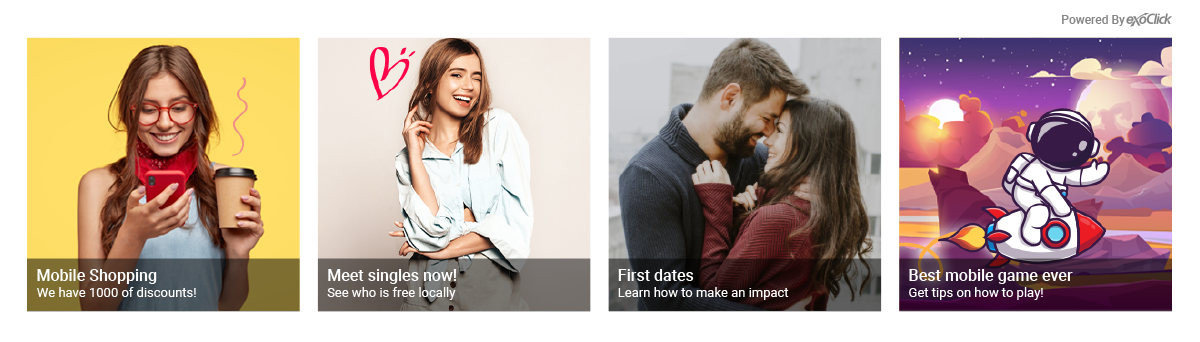
3 – Place the text box over the image with a background opacity: If you want to place the text over the image, sometimes it can be hard to read the text so this CSS code allows a transparent/semi-transparent background behind the text.
  .exo-native-widget-item-content {
      position: absolute !important;
      bottom: 0px  !important;
      z-index: 3  !important;
      top: unset  !important;
      height: 50px  !important;
      background-color: black !important;
      opacity: 0.7 !important;
   }
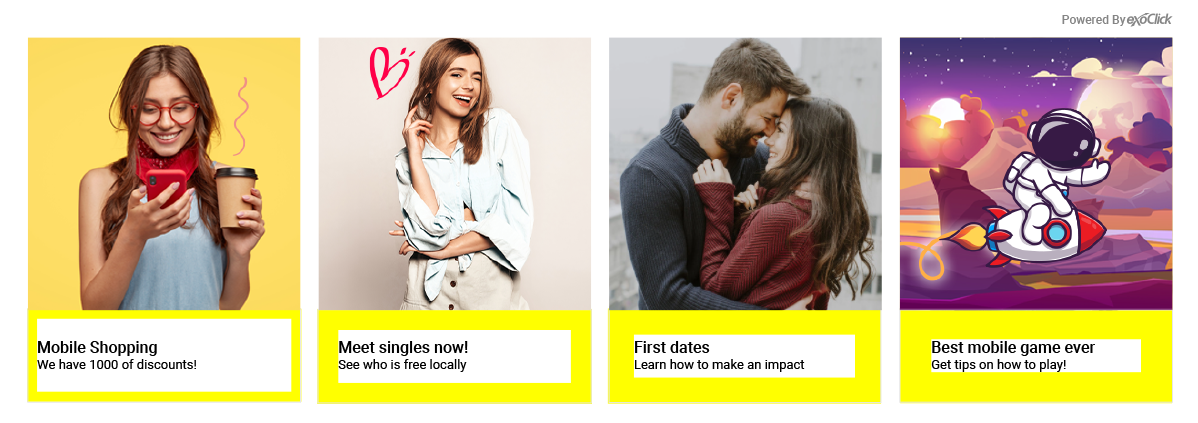
4 – Customize the background colour of the text box: You can change the text boxes background colour while keeping the space between each image and text box transparent or with a different colour with this CSS code, we kept it transparent in our example below:
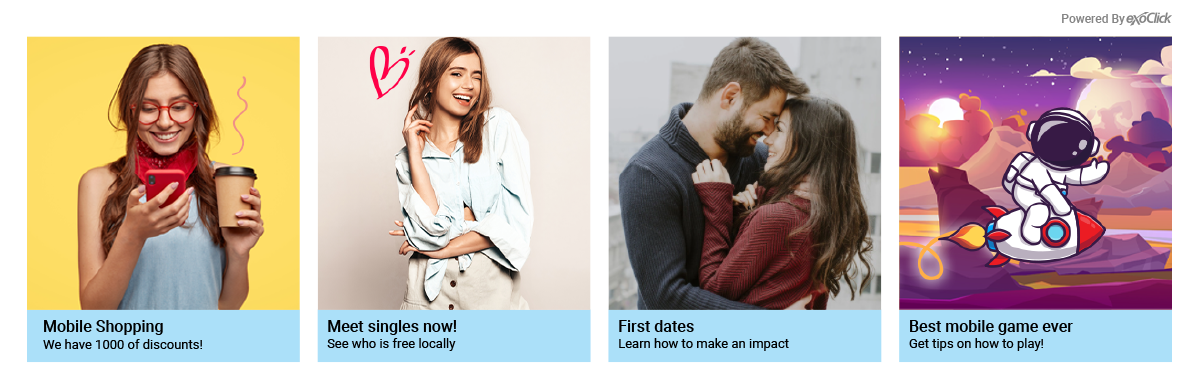
  .exo-native-widget-item-content {
    background-color: #ABE1FA !important;
}

  .exo-native-widget-outer-container {
    background-color: white !important;
    padding: 10px !important;
}
5 – Customise the text font: You can set the font used for the Title and Description to the same font you use on your website using this CSS code.
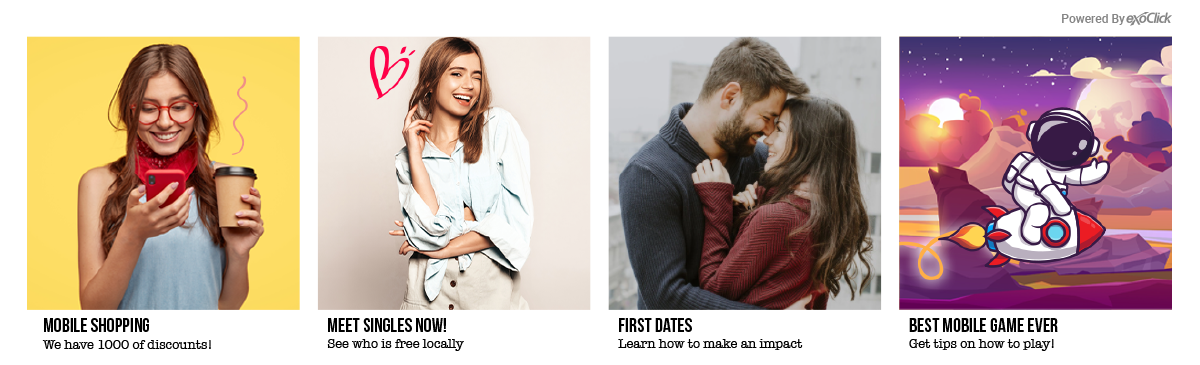
  .exo-native-widget-item-title, .exo-native-widget-item-text, .exo-native-widget-item-brand {
   font-family: fantasy !important;
}
6 – Set the colour of “Powered by ExoClick”: If an end user knows that they are viewing an ad because the Native zone features ‘Powered By ExoClick’ you will generate more quality clicks, which is better for advertisers, because the end user will only click if they are interested in the ad. This CSS code enables you to change its colour.

.exo-native-widget-header{
        color: #0073B7 !important;
    }
7 – Place the “Powered By ExoClick” over the image: If space is an issue you can place it over the image with this CSS code.

 .exo-native-widget-header {
   position: absolute !important;
   z-index: 3 !important;
}
8 – Make the corners of the images rounded: The default setting in your admin panel is a squared image, but you can make the corners rounded with this CSS code.

.exo-native-widget-item-image {
    border-radius: 5% important;
  }
9 – Change the padding: You can change the padding between the image and the text, so that the text is closer or further away from the image.
  .exo-native-widget-item-content {
    padding-top: 30px !important;
}
10 – Set a border around each image and text box within the Native widget
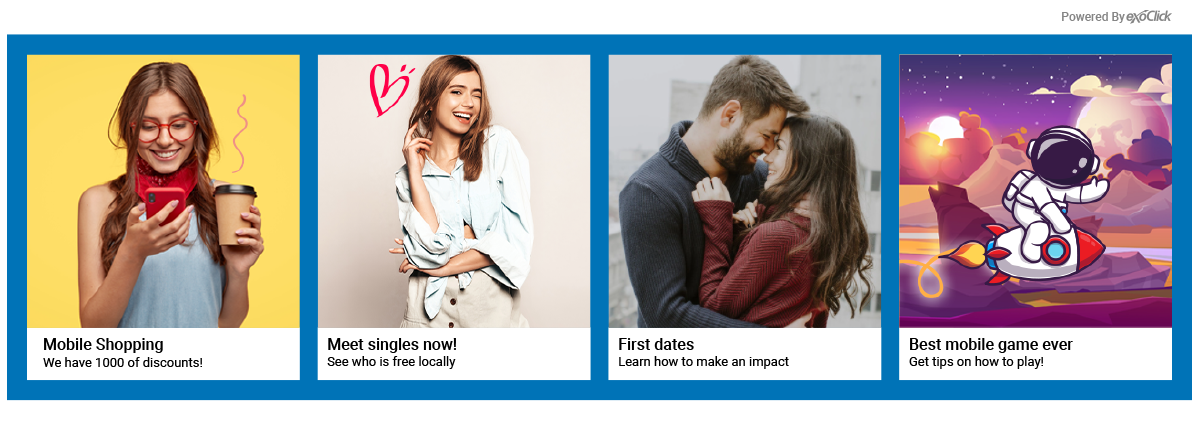
.exo-native-widget-item-container {
    border: 2px #0073B7 solid !important;
}